The Tempora Mobile app is available from IOS and Google Play store, it is a free download which can be found by searching "Tempora" in either store. The Tempora App can be used both online and offline to update your timesheet when you are unable to access a computer.
If you are unable to complete any of the steps in this guide please use the Submit a request button in the top right of this page to contact our team for help.
Index
Mobile App Login
Adding Time
Using the Timer
Changing Time Entries
Posting A Timesheet
Step 1 – Enter your Tempora Username and Password (the same credentials that you use for the desktop version of Tempora) and then press Login.
If you are unable to login please contact Tempora with the details displayed.

Step 2 – Tap the PIN box to add a 4-digit PIN, and then tap Set PIN. You will be asked to enter this PIN on subsequent logins to help keep your account secure.
Please note this PIN will last for 7 days, you will then need to log in again with your credentials used in the previous step.

Adding a Task to your Timesheet (Method 1)
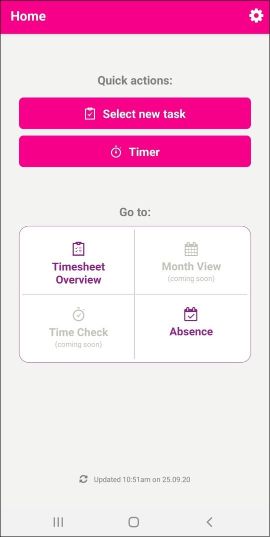
Step 1 – You will now be on the home page, the bottom of the page will show when the app last updated its data from Tempora. To add a new time entry press Select new task on the Home page.
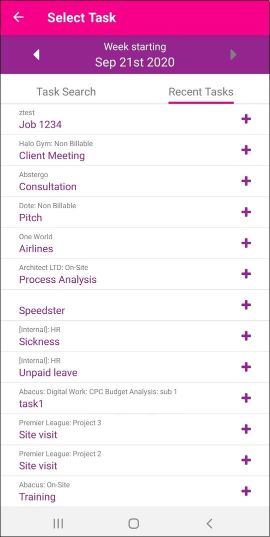
Step 2 – You will automatically be taken to the most recent uncompleted week. You can use the left and right arrows (at the top) to select a different week if needed. You can use the search feature to find the task you would like to record time for by adding text to the search box.

Alternatively, you can use the Recent Tasks tab to select a task.
Or you can manually select the relevant item but using the drop-down boxes
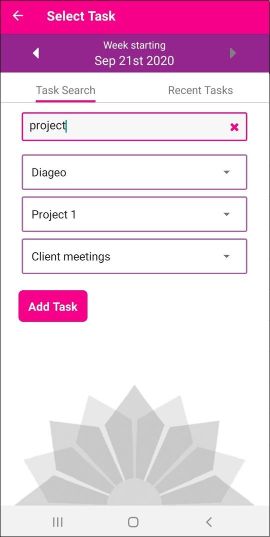
Click Add Task to add the item to your timesheet.
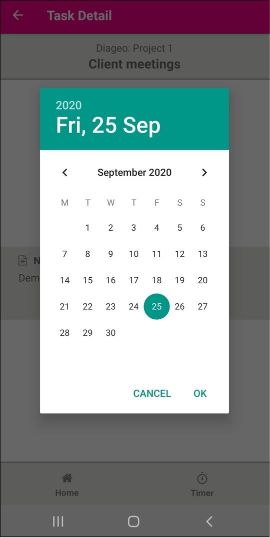
Step 3 – If you need to change the date you are adding time to tap the Pencil Icon.
Please note you can only select a date in the selected week to enter time for.
Once you are ready to enter time please tap the edit button
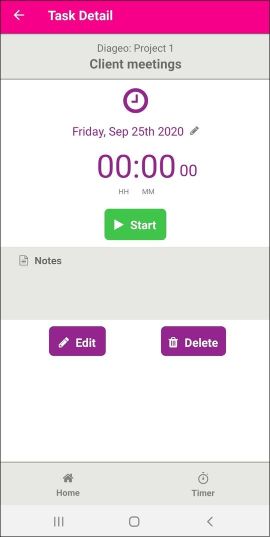
Step 4 – Tap the time to change the time value. we will enter 2:30. You can also add a note but tapping the note box
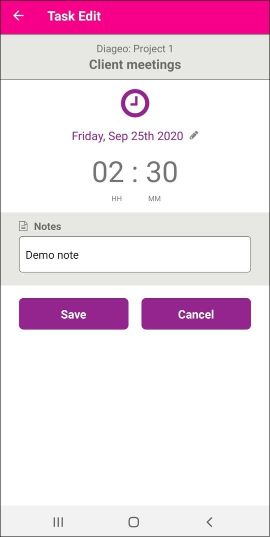
When you are happy with your changes please tap Save
Adding a Task to your Timesheet (Method 2)
Step 1 – Tap the Timer button on the Home page. Please note when using the timer you can only record time for the current day.

Step 2 – Tap the Start button to start a new timer.
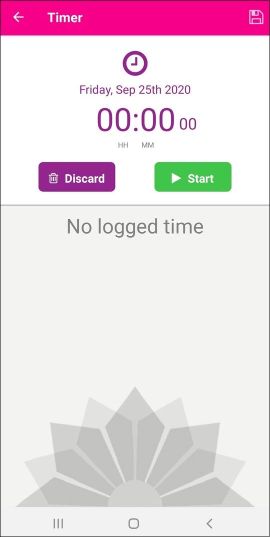
Step 3 – If you switch to a new task you can tap the Split button. This will allow you to start a new timer and keep the old-timer.
If you do not need to split the timer you can tap the Save icon in the top right to edit this time and add it to a task.
To save the split time please tap the grey arrow to the right of the split time.
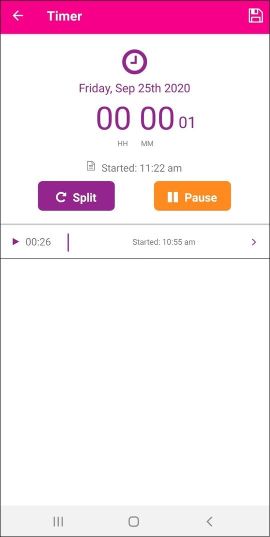
Step 4 – Before adding the time to a task you can adjust the timer if it is incorrect or add a note. When you are ready tap Add To Task to add this time to a task.
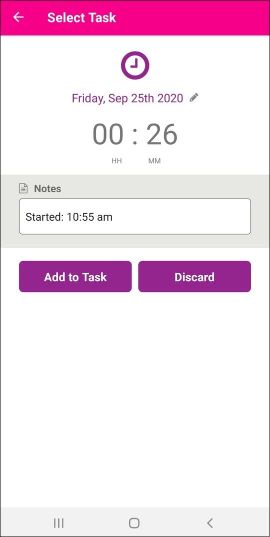
Step 5 – You can now assign this time to a task using the Search box, Dropdown boxes or the Recent Tasks tab.

Modifying a Task in your Timesheet
Step 1 – Press Timesheet Overview on the Home page.

Step 2 – You can use the arrows (at the top) to select different timesheet weeks. To change the time entry for an item tap the name shown with the week total.

Step 3 – At the top, you can change the drop-down box to only see time for a selected client. To change the time entry for a day please tap that day.
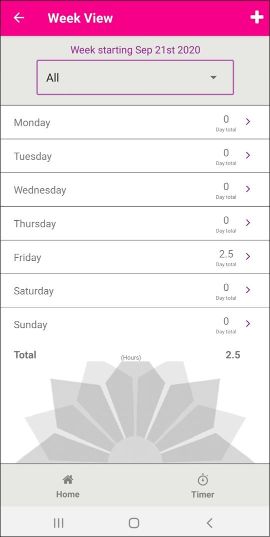
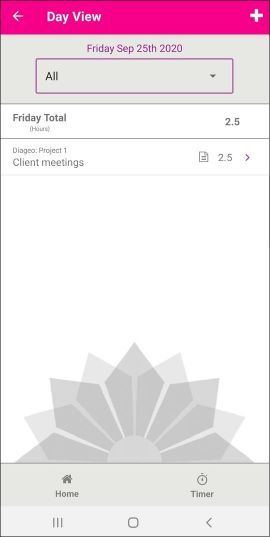
Step 4 – You can now see all tasks recorded for that day and the time. The note icon indicates a note has been added to that time entry. To adjust a time entry please tap its name or the grey arrow.
Step 5 – Please Tap edit to change the note or the time value for the task
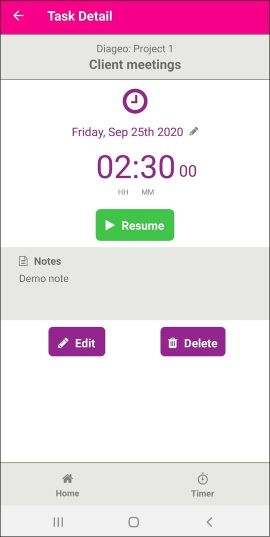
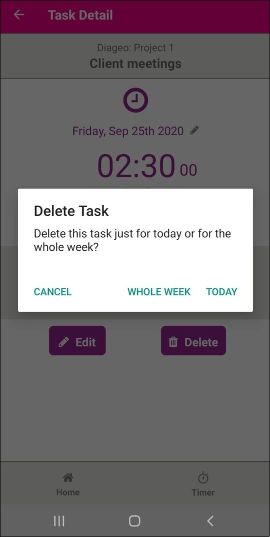
Step 6 – If required you can delete the task and its time for the day or the whole week, selecting day will remove the time and notes for this day. Selecting week will remove all time and notes for the selected week.
Step 1 – The Timesheet Overview will show you how many hours you have left to complete for the selected week. You can only post your timesheet when you have reached or exceeded this amount.

Step 2 – Once you have met or exceeded your minimum hour requirement the post button will become available.
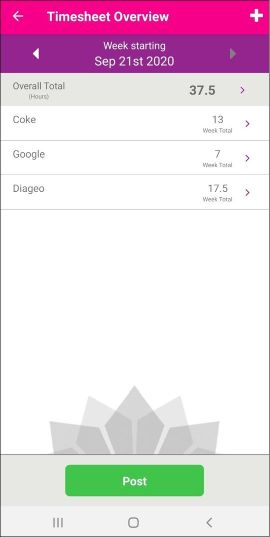
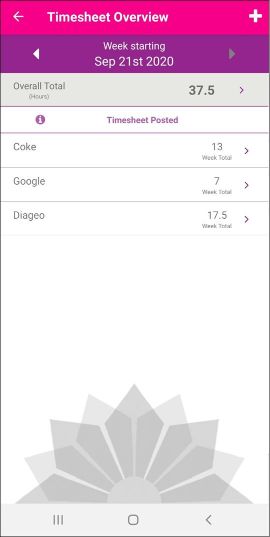
Step 3 – Once you Tap the post button you will be asked to confirm if you would like to post the timesheet. If you tap Yes the Timesheet Overview will then show you that the timesheet has been posted, and no further changes can be made to this week’s timesheet. If you tap No then the timesheet will not be posted.
Comments
0 comments
Please sign in to leave a comment.